Thursday, November 8, 2012

The Gilded Age

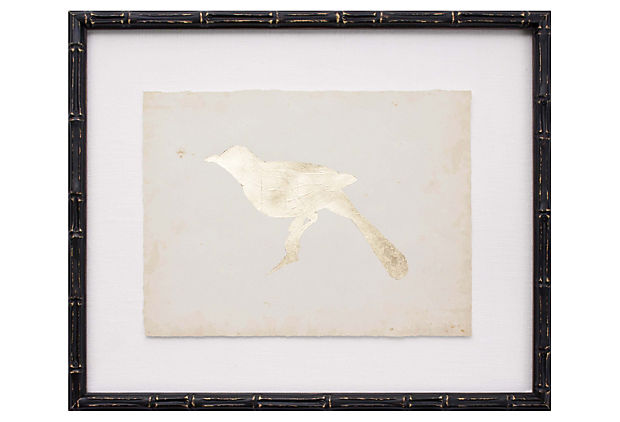
Have you ever received an email from a flash sale site like One Kings Lane or Joss & Main and thought, I can make that?  Well, that's exactly what happened to me the other day when I opened The Gilded Age shop at One Kings Lane.  I fell in love with the gorgeous, gold leaf bird silhouettes by Mirror Image Home.

"This gold leaf bird silhouette adds a glamorous touch to the bird's natural, delicate beauty. On oyster linen with espresso bamboo frame, the art is elegant and ready to hang."  I LOVE them!!!
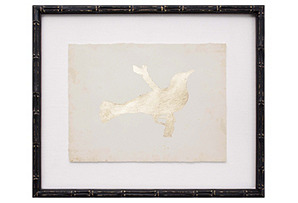
Gold Leaf Bird IXGold Leaf Bird I

However,  I didn't love the price!!!.  The original retail was $360/silhouette and the flash sale price was $189.  So like most DIYers, I decided try to make my own bird art.

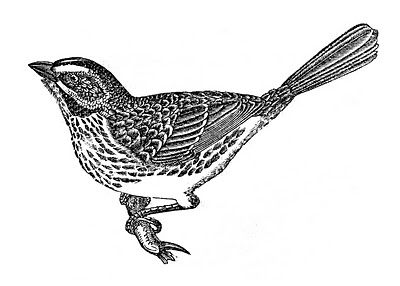
My first stop was The Graphics Fairy to find the perfect bird silhouettes and I did....


My next step was to copy in black and white onto card stock and make stencils.  I also decided that I wanted  more of a rustic feel so I opted to use burlap instead of linen and silver leaf instead of gold leaf. 

So, here are my tools....burlap, silver leaf and adhesive pen, 2 canvases and decorative tacks.  


I adhered the burlap to the canvases with spray adhesive stapling it along the back edge utilizing my gift wrapping skills as shown below.


I then marked off the edges of each canvas in 1 inch sections and with my handy dandy rubber mallet taped in the decorative tacks.


My next step was to trace the silhouette on to the burlap and apply the silver leaf glue with the adhesive pen provided in the package.  Now I must admit, silver leafing on burlap is a bit frustrating.  I think I now know why my inspiration art was done on linen!


The entire project was a bit more time consuming than I had imagined but the bottom line is, I'm very pleased with the outcome.  I especially like the rustic tacking and burlap coupled with the more sophisticated silver leaf.


Let me know what you think....

Heather

vif187
Fridays Unfolded French Country CottagePhotobucketThe Shabby Nestfive days five ways | feature friday free for all Chic on a Shoestring Decorating  Whipperberry 
In The Old RoadHookingupwithHoHshabby creek cottage 
DIY Show Off

Wednesday, November 7, 2012

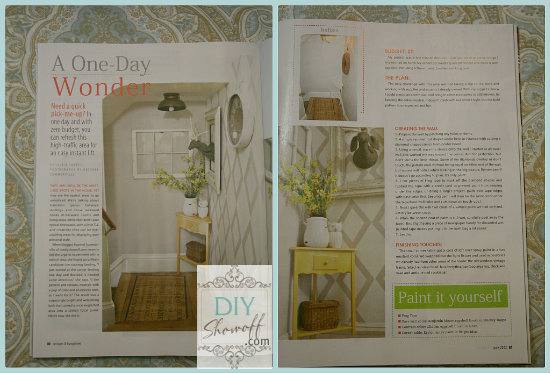
Blog Crush Wednesday - The DIY Showoff

If you haven't already met Roeshel of The DIY Showoff, she is the beauty and brains behind one of the top DIY blogs in the bloggersphere!  (Is that a word?)

Roeshel from DIY Show Off blog

Roeshel is a DIY enthusiast who loves to "be creative about repurposing things, designing & decorating my spaces and getting crafty. I love sharing our budget friendly DIY projects and tutorials.  Lucky me – we have an entire farmhouse full of projects that will take us a lifetime to complete. I’m drawn to cottage style…the cozy vacation feel appeals to me and seems fitting for our big old farmhouse but mostly I just do what I love with a mix of styles. “To get something you never had, you have to do something you never did.’” Join me while I turn this farmhouse into our dream home and a blog into a career."

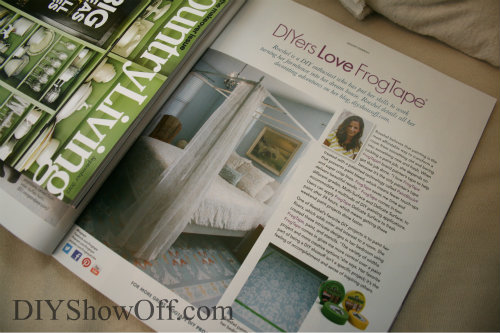
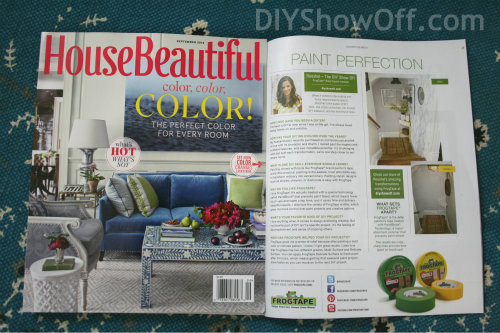
The DIY ShowOff is a member of the True Value DIY Blog Squad and FrogTape Blog Squad. She has been featured in This Old HouseCountry LivingHouse BeautifulCottage & BungalowsFlea Market Style, and the list goes on....

You will find inspiration and tutorials at DIYShowoff  Projects and Tutorials page ranging from basic a Chair Makeover to a very detailed guide for Painting and Glazing Furniture to Creative Storage Ideas.  Her ideas and instructions are amazing!!!

Roeshel also hosts a weekly Linky party every Monday called DIY Project Parade where you can find some of the 'best' DIY projects on the web.  You can find this week's parade @ DIY Project Parade.

DIY Show Off

Roeshel also invites fellow DIYers to be featured on her blog with Show Off/ Be Featured section.  "You planned. You budgeted. You swore. You broke a nail. You put a lot of time, effort, sweat and tears, heart and soul into a project to create something fabulous – why not SHOW IT OFF? You deserve a little recognition!"  You will find awesome makeovers, creative crafts, delightful decorating, home improvement ideas and so much more from DIYers everywhere.

How lucky am I!!!  Roeshel has chosen a few of my creations to feature on her blog including New Year, Old To New AccessoriesFabulous Furniture Features  and DIY Fall Festival.  Thank you, Roeshel!!!

So head on over to DIY Show Off where you will find....

"a blog dedicated to showing it all off!"


Let me know what you think....

Heather

Sunday, November 4, 2012

The Story Of My Sideboard

In my recent post, Color Selector, I chose a color combination which I call Gray Sparrow, a mix of Behr Gray Morning and Sparrow Ratio to refinish my dining room sideboard. My goal was to achieve a Habersham effect and I DID IT!!!


Below is my story of my sideboard...

I mix my chalk board paint in a less conventional manner using a Ziploc Twist 'n Loc Containers container.  They are perfect for measuring purposes and the top twists on like a jar so it keeps my paint fresh and ready to use.  In this case I chose the 1000ml container which approximates 4.2 cups.


The faux Annie Sloan Chalk Paint recipe that I use comes from Jamielyn of          i heart Nap Time involves mixing 2 tablespoons of Plaster of Paris to 1 cup of flat paint.  So, in this case I added 8 tablespoons to LHD (Larissa Hill Designs) Gray Sparrow paint combination.

LHD Gray Sparrow

Step 1
Apply coat of LHD Gray Sparrow chalk paint over the current white chalk paint layer and lightly sand areas where you might expect normal wear and tear.


Step 2
I particularly like Deana's tutorial at Alchemy Fine Living on using MinWax to age furniture. I chose to use MinWax Classic Gray Wood Finish applied lightly over the entire sideboard leaving it to penetrate for 5 minutes before wiping it off with Cheese Cloth.

And, yes I was watching Ellen while completing this step!!!


Step 3
I chose to subtract the stain by wiping it in even strokes up and down and across the top until I was satisfied with the color. And below is my final painted sideboard finish....


Now, here in lies my dilemma!!! It is a great color which closely echoes the Habersham painted finish which I wanted to replicate however, I really don't like it.

My question for you is, "Have you ever been so unhappy with a paint finish, that you repaint it all over again?"

Let me know what you think....


Heather

I'm a Fan of My 1929 Charmer Blog!
Sumo's Sweet StuffMod Vintage LifeDIY Show Off 

Friday, November 2, 2012

LHD Paint Tip #1

Through my years of painting and repainting, I have found a few tips along the way that have made my painting experiences easier and I thought I'd share a few with you.  Most are very basic but I'm surprised at the number of people who have never heard of them. So, here is my first....

Nothing is more frustrating than having paint drip everywhere when you are pouring it.  The best way to avoid those messy spills is to prevent them before you even begin to pour.

LHD Tip #1

Remove the lid, with your trusty hammer and always handy Phillips head screwdriver, light tap 3 or more holes into the rim of the paint can top as shown below.


Voila....no more paint spills or dripping!


Let me know what you think....


Heather