Sunday, February 5, 2012

Pillow Talk

On Thursday, I introduced you to Live.Like.You, my new favorite blog. Well, I spent a good two hours reading recent and older posts, looking at Before & Afters and of course, perusing her shop.  It was there that I found her new line of Jill Sorensen Pillows .  These handmade, ribbon detailed pillows with feather down inserts will add a touch of understated elegance to any room and I knew I had to recreate them.


Luckily, I had recently purchased pillow covers for my daughter's room and hadn't figured out what to do with them.  So, off to Joann's to purchase ribbon and iron on adhesive tape. 

This is a NO SEW tutorial....My first step was to decide on the dimensions of the design and my 3" grid ruler was the perfect tool.  I basically folded and pinned the corners and while positioned on the pillow cover, I placed the adhesive tape underneath and ironed. 


I continued this around the corners of the pillow and voila.....


On closer inspection, you might notice that the adhesive can be seen through the white ribbon in a couple of places.  My advice, use a colored ribbon if you are using iron on adhesive, otherwise sew your ribbon on. 


I am pleased with the overall outcome and this tutorial is a really simple way to achieve a designer look on a budget....


Let me know what you think.....

Thursday, February 2, 2012

Live.Like.You & Inspiration

One of my new favorite blogs is Live.Like.You .  The subtitle of the blog reads, "Don't Live Like Everybody - Live Like You!"  Jill Sorenson is the creator of this fabulous blog and is a self proclaimed "design addict".  She believes that "Good design should be available to everybody, on any budget to create a better life and environment for themselves".

Live Like You & Marmalade Interiors

Jill also created LiveLikeYou, an online store where you can find free design vignettes suited to personality types or your favorite movies. From Glamour Girl to Mama Mia to Recessionista (my personal favorite), you can expect room tips, tear sheets, color recommendations and either shop her site or DIY. She hopes that "LiveLikeYou inspires you to find what you love, how you want to live, and kick-starts you to create the home of your dreams!"  She also has a full service residential &commercial design consultation company called company Marmalade Inc.

Additionally and most importantly, Jill gives back!!!  If you have followed my blog for a bit, you know how important this is to me. She co-founded Knock Out Abuse Against Women together with friend Cheryl Masri to raise money for women and children who are victims of domestic violence. One of their programs is Sharing Spaces, that spearheads shelter redesigns with local designers. 

You need to stop by Live.Like.You and take advantage of her Free Design Advice, Paint Color Recommendations and Room-by-Room Designed Vignettes and "get some inspiration"!

Let me know what you think....

Tuesday, January 31, 2012

High Style Low Budget Design - Horchow/Home Decorators

When I began blogging last August I started a feature called High Style Low Budget Design and I thought it was time to resurrect this post.  Finding High Style on a Low Budget can be difficult. I intend to showcase High End style at Low End prices so come along with me as I discover the hottest decor at affordable prices

Horchow Benson Tufted Headboard will add a touch of glamour to your bedroom.  This lovely curved headboard is wrapped in deeply tufted polyester fabric and is available in 4 colors.  It is available in Queen and King size only and priced at $799 and $899 respectively.  High end style at a high end prices!


Home Decorators Tufted Arch Headboard is comparable in style and glamour to Horchow's Benson Tufted Headboard.  It will add graceful elegance and high end style to any bedroom at a much more affordable price.

With an arched, scalloped design that features deep tufts for the look of soft, plush comfort, this headboard will add the look of traditional elegance to any space. You can choose from a wide range of beautiful, top-quality fabric options to create a piece that you are sure to love versus the limited selection at Horchow.  Home Decorators has it available in Twin, Full, Queen, King and California King sizes with sale prices, ranging from $319 - $359!!!! 

Truly, high end style on a low end budget...

Let me know what you think....

Friday, January 27, 2012

The DIY Club Top 10 January 2012

Congratulations to fellow bloggers, Girl In The Air, (2 Projects) Twigg Studios, The Artsy Girl Connection, My Repurposed Life, Double D Workshop, Lindsay & Lacey,  and Chapman Place.

Each of these extremely talented bloggers were named a part of The DIY Club Top 10 January 2012   I am honored that my Craigslist Cane Chairs and my $5 Console Table Spray Paint Makeovers were included in this list. 

You have to visit The DIY Club to see each and everyone of these wonderful projects.

Thank you, DIY Girls!

Lost And Found - Nesting Tables

While purging our garage the other day, I stumbled upon a set of nesting tables that I had completely forgotten about.  If I recall correctly, I had purchased them for our daughter's first apartment in her college sophomore year and she really didn't care for them.  It was not the 'design aesthetic' she was going for.  Anyhow, I was thrilled to have found them.


Coincidentally, I had recently been leafing through one of my favorite home
catalogs, Wisteria and fell in love with their Cabriole-Leg Table Set and knew I had to refinish my table set to reflect their traditional Swedish design. 


If you have been following my blog, you may recall my  Homemade Chalk Paint Experiment and the resulting table shown below.  I decided to use the same technique on my nesting table set.


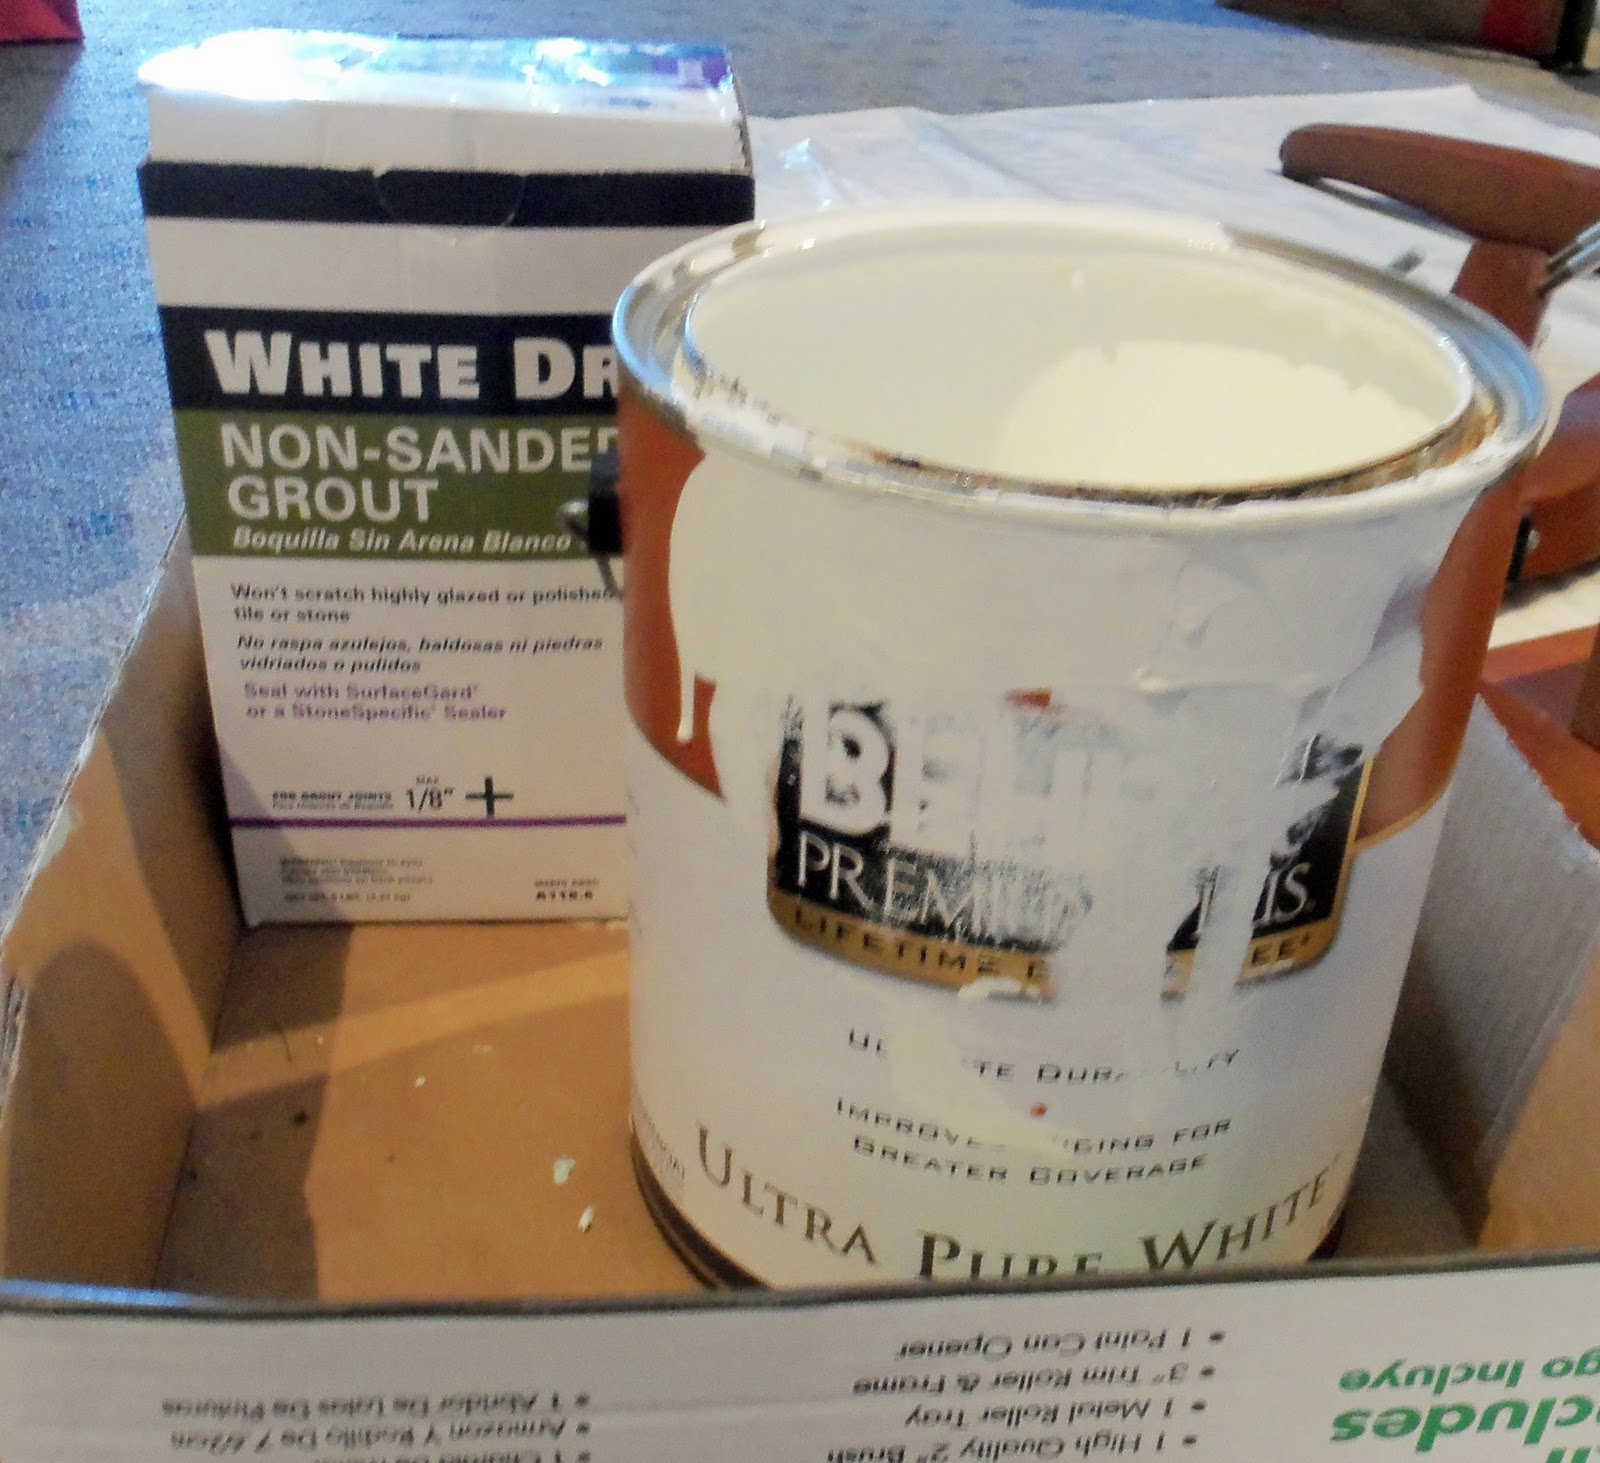
So, I mixed 2 tablespoons of non-sanded grout and one cup of leftover flat white ceiling paint and began to paint my tables.


Below you will find the 'before and after' with one coat of paint.


This chalk paint recipe provides even and full coverage much like Annie Sloan Chalk paint at a fraction of the cost.  After two coats of chalk paint, I lightly sanded each of the tables and generously applied my 'go-to' Howard Citrus Shield Premium Wax in Golden Oak.  So easy to apply, 'wax on, wax off'...

Now, this is where I need your help.  I'm not too sure about the final color of the tables so I repainted one with a 'grey' chalk paint that I mixed with some leftover Behr paint. I then sanded it and applied my 'go-to' wax.  Below, are my two tables with their final waxed finish.  They are positioned in between my two Craigslist Cane Chairs and will complete one of the vignettes in my spare bedroom.


Project #5 Almost Complete!

Your vote will determine how I paint the entire set, WHITE OR GREY....

Let me know what you think.....


Joining the party at
DIY Club
ThriftyThurs Thrifty Thursday Week 60

Featured On

Monday, January 23, 2012

Repurposed Monday - Lamp Base

Sometimes it is just too hard to let some things go and in this case, it was a black lamp base.  For a number of years it has been sitting in my storage room collecting dust.

Well, I stumbled across a darling lamp in one of my favorite stores, Anthropologie and there it was.....the perfect bunny Lamp.  Unfortunately, the Runway Bunny Ensemble lamp is no longer available at the store or online but here is a photo of it.  Created by the Swedish design team "Front", a cheeky hare proudly dons a top hat (the lampshade) to model it in your home.  At 13.5" H, it was priced at $199.  A little too expensive for a whimsical accent but a great inspiration piece!!!

Runway Rabbit Ensemble Lamp

I could not get it off my mind and a few weeks later while shopping, I came across a darling white ceramic garden bunny.  I really love the crackle and aged finish on my bunny.


It appeared to be the correct size for my lamp base so I bought it and it was. I then adhered to the base with a household glue....a perfect fit. I found a burlap drum shade at Walmart. It is part of their Better Homes And Gardens line and I couldn't pass it up at $9.97.

Better Homes and Gardens Burlap Drum Shade 

I could have kept it simple but decided to add just a touch of black grosgrain ribbon to the top and bottom.  Grosgrain ribbon and glue, the perfect combination!


My 'Runway Bunny Ensemble' lamp is part of my Guest Room Makeover Project that I look forward to sharing with you in the near future.

Project #4 Complete!

What have you repurposed lately? 

Let me know what you think.....I love reading your comments!


Joining the Party.....
Home Stories A2Z
you are talking too much


The Southern Institute
Sunday's Best Linky Party!

Friday, January 20, 2012

Craigslist Cane Chairs

Like so many DIYers, I peruse Craigslist on a regular basis.  Recently, I scored these great cane chairs and knew I had to have them.  For $50 they had found a new home, mine!

Craigslist Cane Chairs

Craigslist Cane Chairs

Upon closer inspection, they needed a bit more love than I thought but nothing I couldn't cover with paint.  My newest favorite saying is, "If all else fails, paint it".   

I first removed the cushions and bottom seat and then I cleaned with TSP.  Next I used my handy Klean Strip Easy Liquid Sandpaper over the entire chair.  It deglosses and prepares the chair for painting.  LOVE IT!!!


I then took the chairs outside and sprayed them with Krylon Indoor/Outdoor Primer in Black followed by 2 coats of Krylon Spaces Satin Finish in Black.  I feel that spray paint provides the best coverage for cane.

Craigslist Cane Chairs
My next step was to distress the chairs to expose some of the original wood where it may have worn away through normal wear and tear.  I tend to use whatever grade of sandpaper I have handy.  I used a not-so-fine grade this time.  To be honest with you, it was a spare piece and I really don't know what grade it was.  I then finished them off with my trusty wax, Howard Citrus Shield Premium Paste Wax. Bottom line, I was pleased with the overall distressing. 


Now this is where I wanted to announce that these chairs are part of an overall plan to redecorate my Guest Room for expected company at the end of the month.  I have sooooo much to do.  Hint, hint.....black, cream and burlap are a part of the design scheme.

Next, I tackled recovering the cushions and the seat.  The most important lesson I learned while completing this part of the project is to cut your fabric generously.  I did not do this and subsquently, my cushion is sewn a bit too tightly. 


Below is the painted chair with the seat recovered.


And finally, the completed project....  You might recognize the RELAX pillow made earlier this year for my Etsy Inspiration & Giveaway post that featured Graphique.


Project #3 Complete!

Let me know what you think......


PS. Stay tuned for a new giveaway featuring Graphique in the next couple of weeks!

I've joined the Imagine The Impossibilties DIY Club Inc. and The DIY Showoff 

Home Stories A2Z
 
DIY Club